
Cadabra in Jupyter
General
Cadabra can be used from a Jupyter notebook, either by loading a Cadabra extension into an ordinary Python notebook, or through the dedicated Cadabra2 kernel. This allows you to use Cadabra notation in a familiar environment, and make use of e.g. Jupyter widgets for visualisation, or other things which are currently not possible in the Cadabra notebook interface.
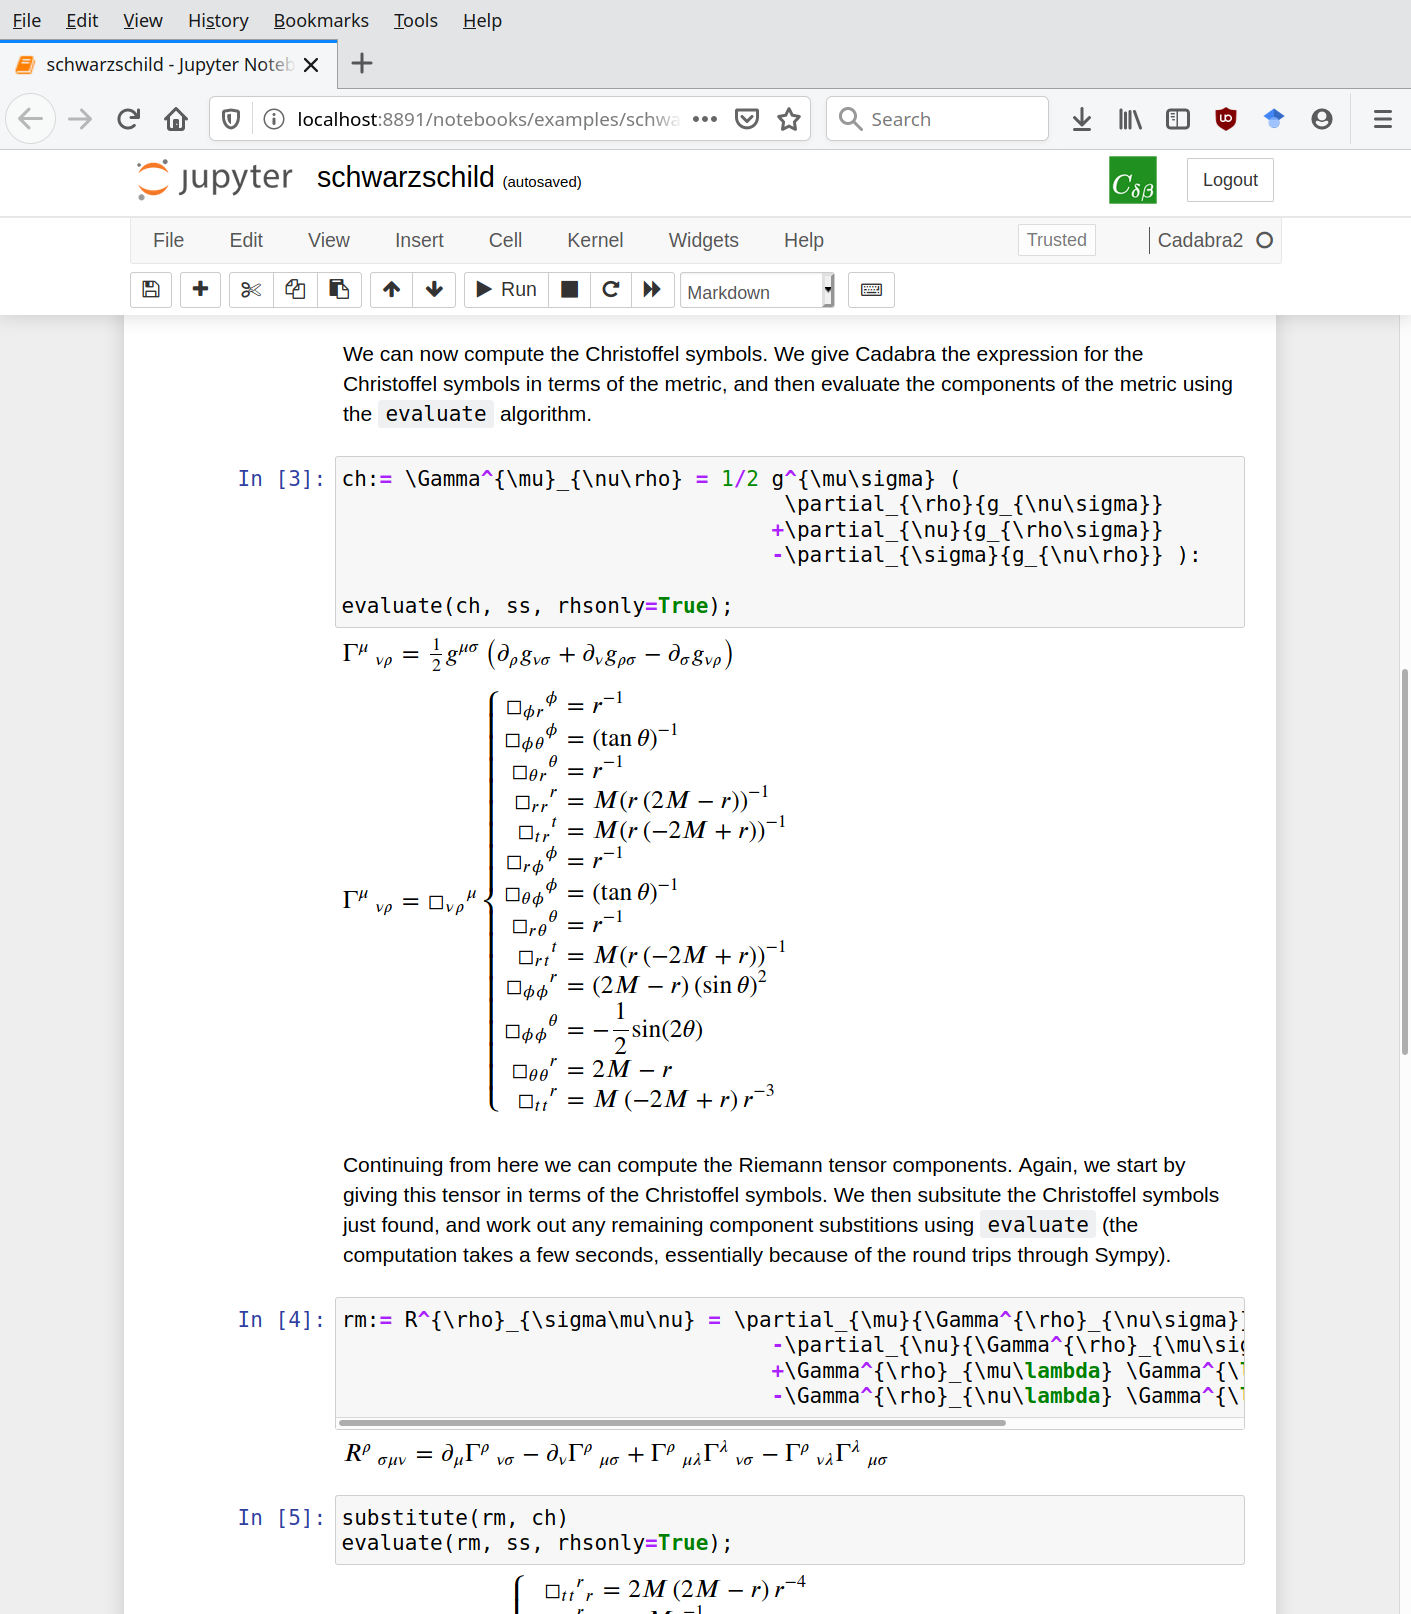
The Cadabra Cloud service makes use of Jupyter to provide you with an on-line service to run Cadabra; send an email to cloud@cadabra.science if you want to get access.
Using Cadabra in a Python notebook
The simplest way to use Cadabra in Jupyter is to install it from PyPI (on Linux, x86_64 and arm64, Python 3.10 or later) and load it into an ordinary Python notebook. This works in any Jupyter set-up, including Google Colab, Kaggle and VS Code notebooks, where you cannot add kernels of your own. To install:
-
On your own machine, install the package into the
environment in which Jupyter runs, for instance
python3 -m venv .venv source .venv/bin/activate pip install cadabra2 jupyterlabIf you use uv, install with uv pip install (or create the environment with uv venv --seed), as a plain pip would otherwise install outside the environment.
- On Colab or Kaggle, run !pip install cadabra2 in a notebook cell.
Then, in a new Python notebook, put
in the first cell. After that, cells accept Cadabra notation, e.g.
Since this is a normal Python notebook, all the usual IPython features keep working: %magic commands, !shell commands and ? help. Output from print appears while a cell is still running, and errors are reported with IPython's normal tracebacks.
Using the Cadabra2 kernel
The same package also registers a dedicated Cadabra2 kernel, in the environment it was installed into. If you run Jupyter yourself, you can choose the 'Cadabra2' kernel when creating a new notebook, instead of a Python one. Compared to the extension, this gives you Cadabra-specific tab completion, there is no need for a %load_ext line, and the notebook is stored as a Cadabra notebook rather than a Python one. On the other hand, IPython magics and shell commands are not available, and print output only appears once a cell has finished.
Native packages and source builds
The binary packages for Linux and Windows, the Homebrew and MacPorts packages for macOS, and a standard build from source all install the Cadabra2 kernel and the extension as well. If Jupyter cannot find the Cadabra kernel or module, you may need to adjust your PYTHONPATH.
Compared to the pip package, the native packages also give you
- the Cadabra notebook interface cadabra2-gtk;
- the command-line tools, such as cadabra2-cli and the cadabra2ipynb notebook converter;
- the option to use Mathematica instead of SymPy for scalar algebra;
- support for macOS and Windows.
Docker version
Alternatively, you can use the official Docker image for Cadabra, available from DockerHub, which contains a Jupyter server with the Cadabra kernel. This will not be able to see existing Python package installations on your system, but has the advantage of being easy to install (and easy to remove, if you ever want to do that). It is also a convenient option on machines for which there is no pip package.
Differences with Cadabra's own notebook
When you use Cadabra within Jupyter, most things will work as in Cadabra's own notebook interface. The main thing to keep in mind is that Jupyter notebooks (with extension .ipynb) and Cadabra notebooks (with extension .cnb) are not the same file format. You can read notebooks created in Jupyter into the Cadabra cadabra2-gtk client, and you can export Cadabra notebooks as Jupyter notebooks (or convert them using the cadabra2ipynb command-line utility); both of these tools come with the native packages, not with the pip package.
You can, however, make use of Cadabra packages inside the Jupyter notebook, so you can still do import something where something.cnb is a Cadabra notebook (or something.ipynb a Jupyter notebook written in Cadabra notation).